When to Replace a Bike Chain: Measure Wear, Save Gears
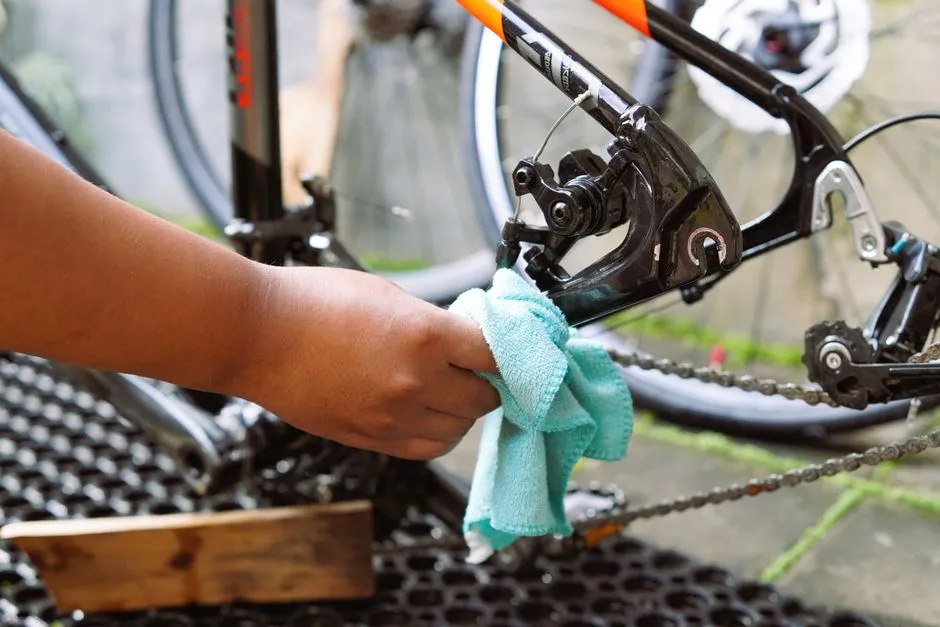
- Replace the chain at its wear limit, not by mileage
- What “chain stretch” really means
- Use a compatible chain checker
- Why gauges disagree
- A ruler is a useful cross-check
- Do not wait for obvious symptoms
- Check more often when wear accelerates
- Does a new chain mean a new cassette?
- Choose the exact replacement
- A simple maintenance rhythm
Replace the chain at its wear limit, not by mileage
A bicycle chain should be replaced when a compatible chain checker reaches the limit specified by the drivetrain manufacturer. There is no honest universal mileage: rain, grit, rider power, e-bike assistance, lubrication and cross-chaining can turn the same distance into very different wear.
As a broad shop guideline, Park Tool recommends replacement at or just before 0.75% wear for many 5- to 10-speed derailleur chains and 0.5% for many 11- to 13-speed chains. Some systems differ: SRAM specifies 0.8% elongation for current chains covered by its manual and requires a qualified gauge. Treat the manufacturer of your actual chain and drivetrain as the final source.
The goal is not merely a quieter chain. Replacing it on time helps prevent the cassette and chainrings wearing to match an elongated pitch, which turns a modest maintenance part into a considerably less modest shopping trip.
What “chain stretch” really means
The side plates do not normally stretch like elastic. Wear develops around the pins and bushings or formed bearing surfaces, increasing the distance between load-bearing points across many links. People call that chain stretch because the chain measures longer under tension.
As pitch increases, the rollers stop seating cleanly against the teeth. Shifting can become vague, noise increases and the chain loads fewer parts of each tooth. Continue long enough and a fresh chain may skip on the old cassette because the sprockets have worn to the previous chain.
Visible dirt does not tell you the wear percentage. A spotless chain can be worn; a grimy one may still measure within limits, though the grime is busy changing that. Measure after basic cleaning so packed dirt does not interfere with the gauge.
Use a compatible chain checker
A drop-in gauge is the quickest home method. Good tools span several links and indicate one or more wear thresholds. Compatibility matters because modern chain designs and different gauge methods can produce misleading readings.
Park Tool says its current CC-4-style three-point design is intended for 5- to 13-speed derailleur chains, including several modern profiles, and marks 0.5% and 0.75%. SRAM's chain manual tells owners to use an approved measurement tool and replace the covered chain at 0.8%. Check documentation for Shimano, Campagnolo or another system rather than assuming a gauge that fits between rollers is approved.
To check:
- Shift to a gear that gives access to the upper chain run.
- Switch off an e-bike and prevent unintended crank movement.
- Wipe the chain enough that the tool sits on metal, not compacted paste.
- Place the first end according to the gauge instructions.
- Lower the measuring end without forcing it.
- Test several sections because wear or a damaged link may not be uniform.
- Compare the result with the chain and drivetrain maker's limit.
Do not press a gauge into place. If it almost drops at the replacement threshold, check another section and plan the change; the chain has not earned a bonus month for being technically stubborn.
Why gauges disagree
Some chain checkers include roller clearance in the reading; others try to isolate elongation more directly. Chain construction also varies. Two tools can therefore produce different answers without either being broken.
Use one well-made, compatible gauge consistently and act at the applicable manufacturer threshold. When a reading is surprising, clean the chain, repeat across several sections and ask a qualified shop to verify with an approved tool. That is cheaper than using three random gauges until one gives the answer you wanted.
A ruler is a useful cross-check
Standard bicycle chain pitch is half an inch, so 24 half-inch pitches measure 12 inches pin centre to pin centre when new. Put the chain under light tension and align a ruler precisely with one pin centre, then inspect the pin 12 inches away.
The arithmetic matters:
- an extra 1/16 inch across 12 inches is 0.0625 ÷ 12 = 0.00521, or about 0.52%;
- an extra 1/8 inch is 0.125 ÷ 12 = 0.01042, or about 1.04%.
This can confirm that a chain is clearly worn, but small errors in pin-centre alignment make it poor for deciding a fine threshold. Use a compatible gauge when the manufacturer specifies one. A ruler also does not identify chain compatibility, damage or whether the cassette has already worn.
Do not wait for obvious symptoms
A worn chain may show:
- slower or inconsistent shifts despite correct adjustment;
- noise under load after cleaning and lubrication;
- skipping or jumping under hard pedalling;
- a chain checker reaching the prescribed limit;
- visibly damaged, stiff, cracked or corroded links.
The first three are not exclusive to chain wear. Cable tension, a bent derailleur hanger, damaged teeth, poor lubrication or incompatible parts can produce similar symptoms. Measurement prevents expensive guesswork.
Replace a cracked, bent or damaged chain immediately regardless of elongation. Stop riding if it skips unpredictably under load or if a connection is not secure; sudden drive loss can cause a crash.
Check more often when wear accelerates
Start measuring a new chain periodically, then shorten the interval when the reading begins to move. Check more often after wet winter commuting, dusty off-road riding, long high-power weeks or e-bike use. Motor assistance increases chain load, especially when the rider shifts under full power.
Mileage can still help as a reminder, not a replacement rule. Record the installation date, distance and gauge readings. Once you know that your particular commute, cleaning routine and drivetrain approach a limit within a certain range, begin checks well before it.
Regular cleaning and lubrication reduce abrasive wear. Our chain-cleaning and lubrication routine explains the useful version—wipe, appropriate cleaner when needed, dry, lubricate inside the rollers and remove excess—without marinating the drivetrain in solvent.
Does a new chain mean a new cassette?
Not automatically. Timely chain replacement is specifically intended to extend cassette and chainring life. Install a correctly compatible and sized chain, then test every gear carefully in a safe area.
If the new chain skips under load on one or more sprockets while adjustment and installation are correct, those sprockets may be too worn to mesh with it. A cassette replacement may be required. Chainrings can also wear, often showing poor engagement, chain suck or visibly altered teeth, but tooth shapes vary by shift design and cannot be diagnosed from “shark fins” alone.
If the old chain is far beyond its limit, budget for this possibility before removal. Do not keep riding a dangerously worn chain solely because the cassette might complain about its successor.
Choose the exact replacement
Match speed count, drivetrain family and any directional or system-specific requirements. A “12-speed chain” is not automatically compatible with every 12-speed drivetrain. Check the component manufacturer's compatibility chart and use the correct joining pin or master link.
Size the chain using the official method for the bike. Suspension designs, idler pulleys and full-mount derailleurs can require procedures that differ from copying the old link count. SRAM also states that its PowerLock is for one-time use; other connectors have their own reuse rules. Follow the instruction supplied with the exact chain.
Installation requires a suitable chain tool, and often master-link pliers. Our home bike tool-kit guide explains when those tools earn a place. If compatibility, length or connection is uncertain, have a bike shop install it. A chain is a modest component with a very persuasive failure mode.
A simple maintenance rhythm
Clean and lubricate according to conditions, inspect for damage, and check wear across several chain sections with the same compatible tool. Record the result. Replace at the manufacturer's limit, verify connection and shifting, then test cautiously before the next traffic sprint or steep climb.
Browse our maintenance and tools guides for the rest of the home workshop. Chain replacement is one of cycling's best bargains precisely because it happens before anything feels dramatic.