Pre-Ride Bike Safety Check: When Not to Ride
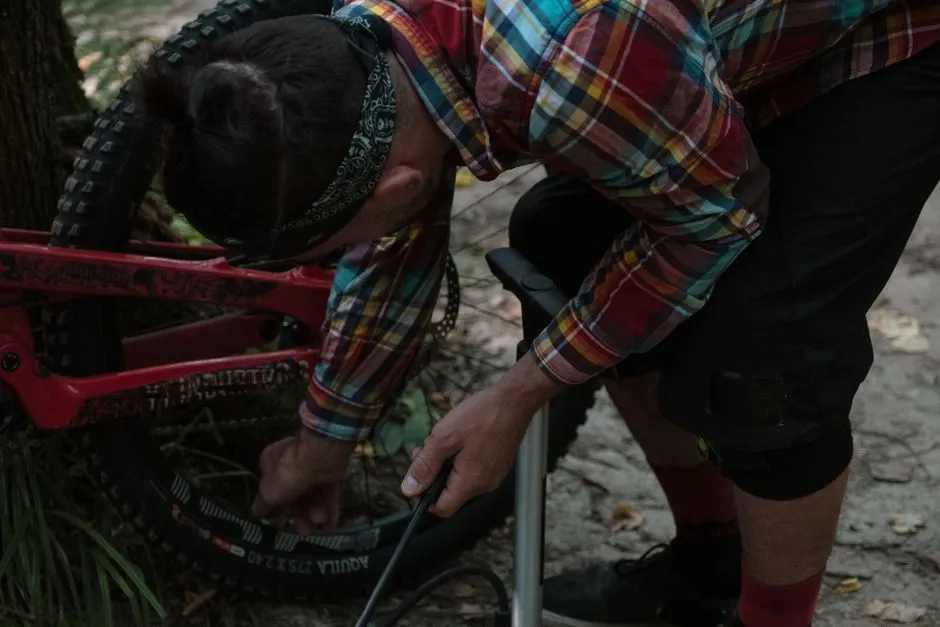
- What should a bike pre-ride safety check cover?
- How do you prepare a check you can actually repeat?
- What do you look for on the tires?
- How do you check wheel security without guessing?
- What makes a brake check a stop-riding issue?
- What belongs in the steering and contact-point check?
- What should you note about the chain and shifting?
- Should you tighten every fastener before riding?
- What should you check about the helmet and visibility?
- When is a controlled functional check appropriate?
- What does a useful mechanic handoff look like?
- Sources
What should a bike pre-ride safety check cover?
Check the tires, wheel attachment, brakes, steering, drivetrain, fasteners, lights and helmet using the instructions for your actual bicycle and components. If a brake, wheel, steering part or other safety-critical component is damaged, behaves abnormally or leaves you uncertain, do not ride until a qualified bicycle mechanic resolves it. Completing a checklist is not a guarantee that a bicycle is safe.
This is a source-based inspection and recording guide, not a report of workshop testing. It does not teach repairs, certify a bicycle or replace scheduled servicing. The sequence below assumes an assembled bicycle with its wheels installed. E-bike electrical systems, suspension setup, cargo-bike load limits and specialist equipment require their own manufacturer instructions.
The useful outcome is not a score. It is a clear distinction between something you observed, something you could not establish and something that requires attention before any riding.
How do you prepare a check you can actually repeat?
Keep a short record containing the bicycle model, relevant component models and links to their current manuals. A replacement brake or wheel may need instructions different from those supplied with the original bicycle. If you cannot identify an important component, ask a qualified mechanic to identify it and demonstrate its pre-ride checks.
Create three response fields for each item:
- Observed: what you actually saw or established using the applicable instructions.
- Unresolved: a question you could not answer, including an instruction you do not understand.
- Action: who will resolve the question and whether the bicycle must remain out of use.
Do not turn an empty box into a pass. Writing “not checked” is more useful than a tick entered from memory.
Also record anything that changed since the previous ride: a wheel removed for transport, a fall, maintenance, new luggage or an unfamiliar sound. After a crash or impact, obtain qualified inspection before riding again. The Trek owner's manual, April 2026 revision specifically calls for bike-shop inspection after an accident or impact.
What do you look for on the tires?
Look at the visible tread and sidewalls for damage, an unusual bulge or an obviously uneven seating line where the tire meets the rim. Do not remove a tire, probe a cut or touch embedded debris as part of this check. Suspected damage or seating trouble needs assessment before riding.
These are observations, not diagnoses. A mark does not tell you the depth of a cut, and an apparently intact exterior does not explain repeated pressure loss. Park Tool's tire and tube guide distinguishes tire-casing problems, tube damage and bead seating during its repair procedure; this pre-ride guide stops at identifying concerns.
Check pressure with an appropriate gauge against the compatible tire-and-rim instructions. Trek's manual says to stay within the recommended range and use the lower maximum where tire and rim limits differ. A maximum is not automatically your target pressure. If the applicable limits are unclear, have the manufacturer or mechanic resolve them rather than choosing a familiar number.
Record the actual reading and its unit, not just “felt firm.” Leave inflation, compatibility and repair questions to the applicable instructions and qualified help.
How do you check wheel security without guessing?
First identify the attachment system. Quick-release skewers, through-axles and bolt-on wheels do not share one closing procedure. Park Tool's wheel guide explains these differences and warns that an improperly secured wheel can come off during riding.
Use the exact wheel, axle and bicycle instructions for the installed system. Do not copy a lever position from a different bicycle, reopen an unfamiliar attachment or assume that the presence of a lever proves it is secured. If you cannot establish correct attachment, do not ride; have a qualified mechanic check it and explain the relevant inspection.
Record this as a separate item for each wheel. A recent rear-wheel check says nothing about a front wheel subsequently removed for a car journey. Avoid making a roadside test ride the means of finding out whether an attachment is secure.
What makes a brake check a stop-riding issue?
Follow the installed brake manufacturer's pre-ride checks with the bicycle assembled. Shimano's UM-0MX0B-000 user manual, for the system it covers, includes brake operation, fluid leaks and component damage among its checks. These are not universal adjustment instructions for every brake.
A brake that does not work normally, a suspected leak or damaged control means no riding until a qualified mechanic resolves it. Do not compensate by planning to use only the other brake. Report the symptom without declaring a cause: “lever movement changed” is an observation; “needs bleeding” is a diagnosis you may not be qualified to make.
Keep fingers away from moving rotors and do not touch a hot rotor. Keep lubricants away from braking surfaces. Do not operate a hydraulic brake lever with its wheel removed unless the exact manufacturer's service procedure explicitly covers that situation. This guide assumes installed wheels and does not instruct brake servicing.
What belongs in the steering and contact-point check?
Check handlebar alignment, secure grips and unobstructed cables according to the bicycle instructions. Trek's April 2026 pre-ride section covers these points and the security of the saddle and seatpost. Unexpected movement, a damaged part or uncertainty about attachment requires qualified inspection before riding.
Do not diagnose a loose stem, headset or handlebar by experimenting with bolts. These components can have different assembly requirements even when their fasteners accept the same tool.
In your record, separate position from security. “The saddle is at my usual height” describes position. It does not establish that its attachment is correct. Likewise, a handlebar that points forward has not thereby passed every steering check.
What should you note about the chain and shifting?
Inspect what is visible without putting fingers into the drivetrain or moving it by hand. Shimano's chain user manual UM-0AH0A-007 identifies deformation, cracks, skipping and unintended shifting as concerns to take to the place of purchase or a distributor.
Report a problem remembered from the previous ride even if it is not visible now. Do not ride to reproduce chain skipping or an unexpected shift. A qualified mechanic should resolve the concern before the bicycle returns to use.
For example, write “chain skipped when pedaling on the last trip; cause unknown.” Do not rewrite that as “probably just needs oil.” Lubrication is not a substitute for investigating damage or malfunction, and this inspection does not include derailleur adjustment, chain replacement or cleaning-chemical instructions.
Should you tighten every fastener before riding?
No. A pre-ride check is not an instruction to add a quarter-turn to every accessible bolt. Park Tool's torque guidance explains that both insufficient and excessive tightening can cause problems and directs readers to current manufacturer specifications.
A tool's availability does not establish the correct torque, assembly condition or service procedure. Do not borrow a value from a similar-looking component. Missing fasteners, movement or uncertain attachment on a safety-critical assembly need qualified assessment before riding.
For follow-up, record the part involved and what changed. Ask the mechanic which checks the manufacturer expects the rider to perform and which work should remain with the workshop. Keep the answer with your manuals. Our maintenance and tools collection is the relevant category for further reading, not authorization to undertake a particular repair.
What should you check about the helmet and visibility?
Use the helmet's own fitting and fastening instructions each time. For the United States, look for the required CPSC compliance labeling rather than judging protection by price or appearance. The CPSC's bicycle-helmet guidance explains the labeling and fit requirements and warns that impact damage may be invisible. Replace a helmet after a crash impact, even if it looks intact. Follow the manufacturer's instructions; no helmet protects against every possible impact.
For the journey, check that the intended lights operate and that installed luggage does not obscure them. NHTSA's bicycle-safety guidance calls for a white front light, red rear light and reflectors at night or in poor visibility. Follow local requirements and the light manufacturer's mounting instructions; that statement is not a summary of every jurisdiction's law.
Secure loose clothing and laces away from moving parts. Resolve an unsuitable or uncertain mount rather than improvising one. Lighting does not make a defective bicycle suitable to ride.
The helmet and safety hub and lights and visibility hub organize these separate topics.
When is a controlled functional check appropriate?
Only after the required stationary checks are complete, with no unresolved safety-critical concern, should a rider familiar with the bicycle perform the manual's controlled functional checks. Trek describes a slow-speed brake check; use a level, traffic-free location and do not apply the front brake abruptly. If you are unfamiliar with the controls or procedure, obtain instruction from a qualified mechanic before riding.
This is not a way to investigate a suspected fault. A short successful ride is not a safety guarantee or a replacement for servicing. Stop if an abnormality appears and arrange qualified assessment rather than repeating the test.
What does a useful mechanic handoff look like?
The following is an original fictional example, not a tested bicycle or a real repair diagnosis.
A rider has transported an assembled bicycle with its front wheel removed. Before the next journey, the rider cannot confidently match the installed axle to the instructions saved on their phone.
| Record field | Example entry |
|---|---|
| Change since last ride | Front wheel removed and reinstalled for transport |
| Observation | Installed axle does not match the illustration I saved |
| Unresolved question | Which instructions apply to this axle and fork? |
| Decision | No riding while wheel attachment remains uncertain |
| Request to mechanic | Identify the system, verify attachment and explain its pre-ride check |
The record does not assert that the axle is defective. It explains why the rider has stopped and what information is missing. That distinction helps the mechanic investigate without inheriting a guessed diagnosis.
Keep observations factual, including which component is involved and when the symptom occurred. Ask how to transport the bicycle for assessment if moving or handling it presents a concern. A missed commute can be rearranged; an unresolved safety-critical question should not be converted into permission to ride.
Sources
- Trek bicycle owner's manual, EN-US revision 6, April 2026, pre-ride inspection and impact warnings.
- Shimano user manual UM-0MX0B-000, applicable brake-system checks and precautions.
- Shimano chain user manual UM-0AH0A-007.
- Park Tool: wheel removal and installation.
- Park Tool: tire and tube removal and installation.
- Park Tool: torque specifications and concepts.
- CPSC: bicycle helmets business guidance.
- NHTSA: bicycle safety.